
If you own a recumbent bike, you will need to know how to adjust a recumbent bike according to your body and ensure that your joints are kept safe and in the best possible position while riding your bike.
How To Adjust A Recumbent Bike
Understanding a recumbent bike’s quirks and features is the foundation of making solid adjustments. These bikes are well-known for providing a laid-back riding position, with pedals stretching forward and a comfy seat to ease those longer rides. Recognizing each component helps in working out your adjustments.
Setting up a recumbent bike just right isn’t just for show—it’s all about a smooth, comfy experience that lets you maximize your workout. Proper adjustments ensure your body gets the best support and avoids unnecessary strains or aches, making every cycling session efficient and enjoyable.
Before getting into the nitty-gritty of adjustments, make sure you have a few basic tools on hand. A wrench will often do the trick for most parts, though some bikes might include specific adjusters for user-friendly tweaks. Trust me, having these ready makes the whole task a breeze.
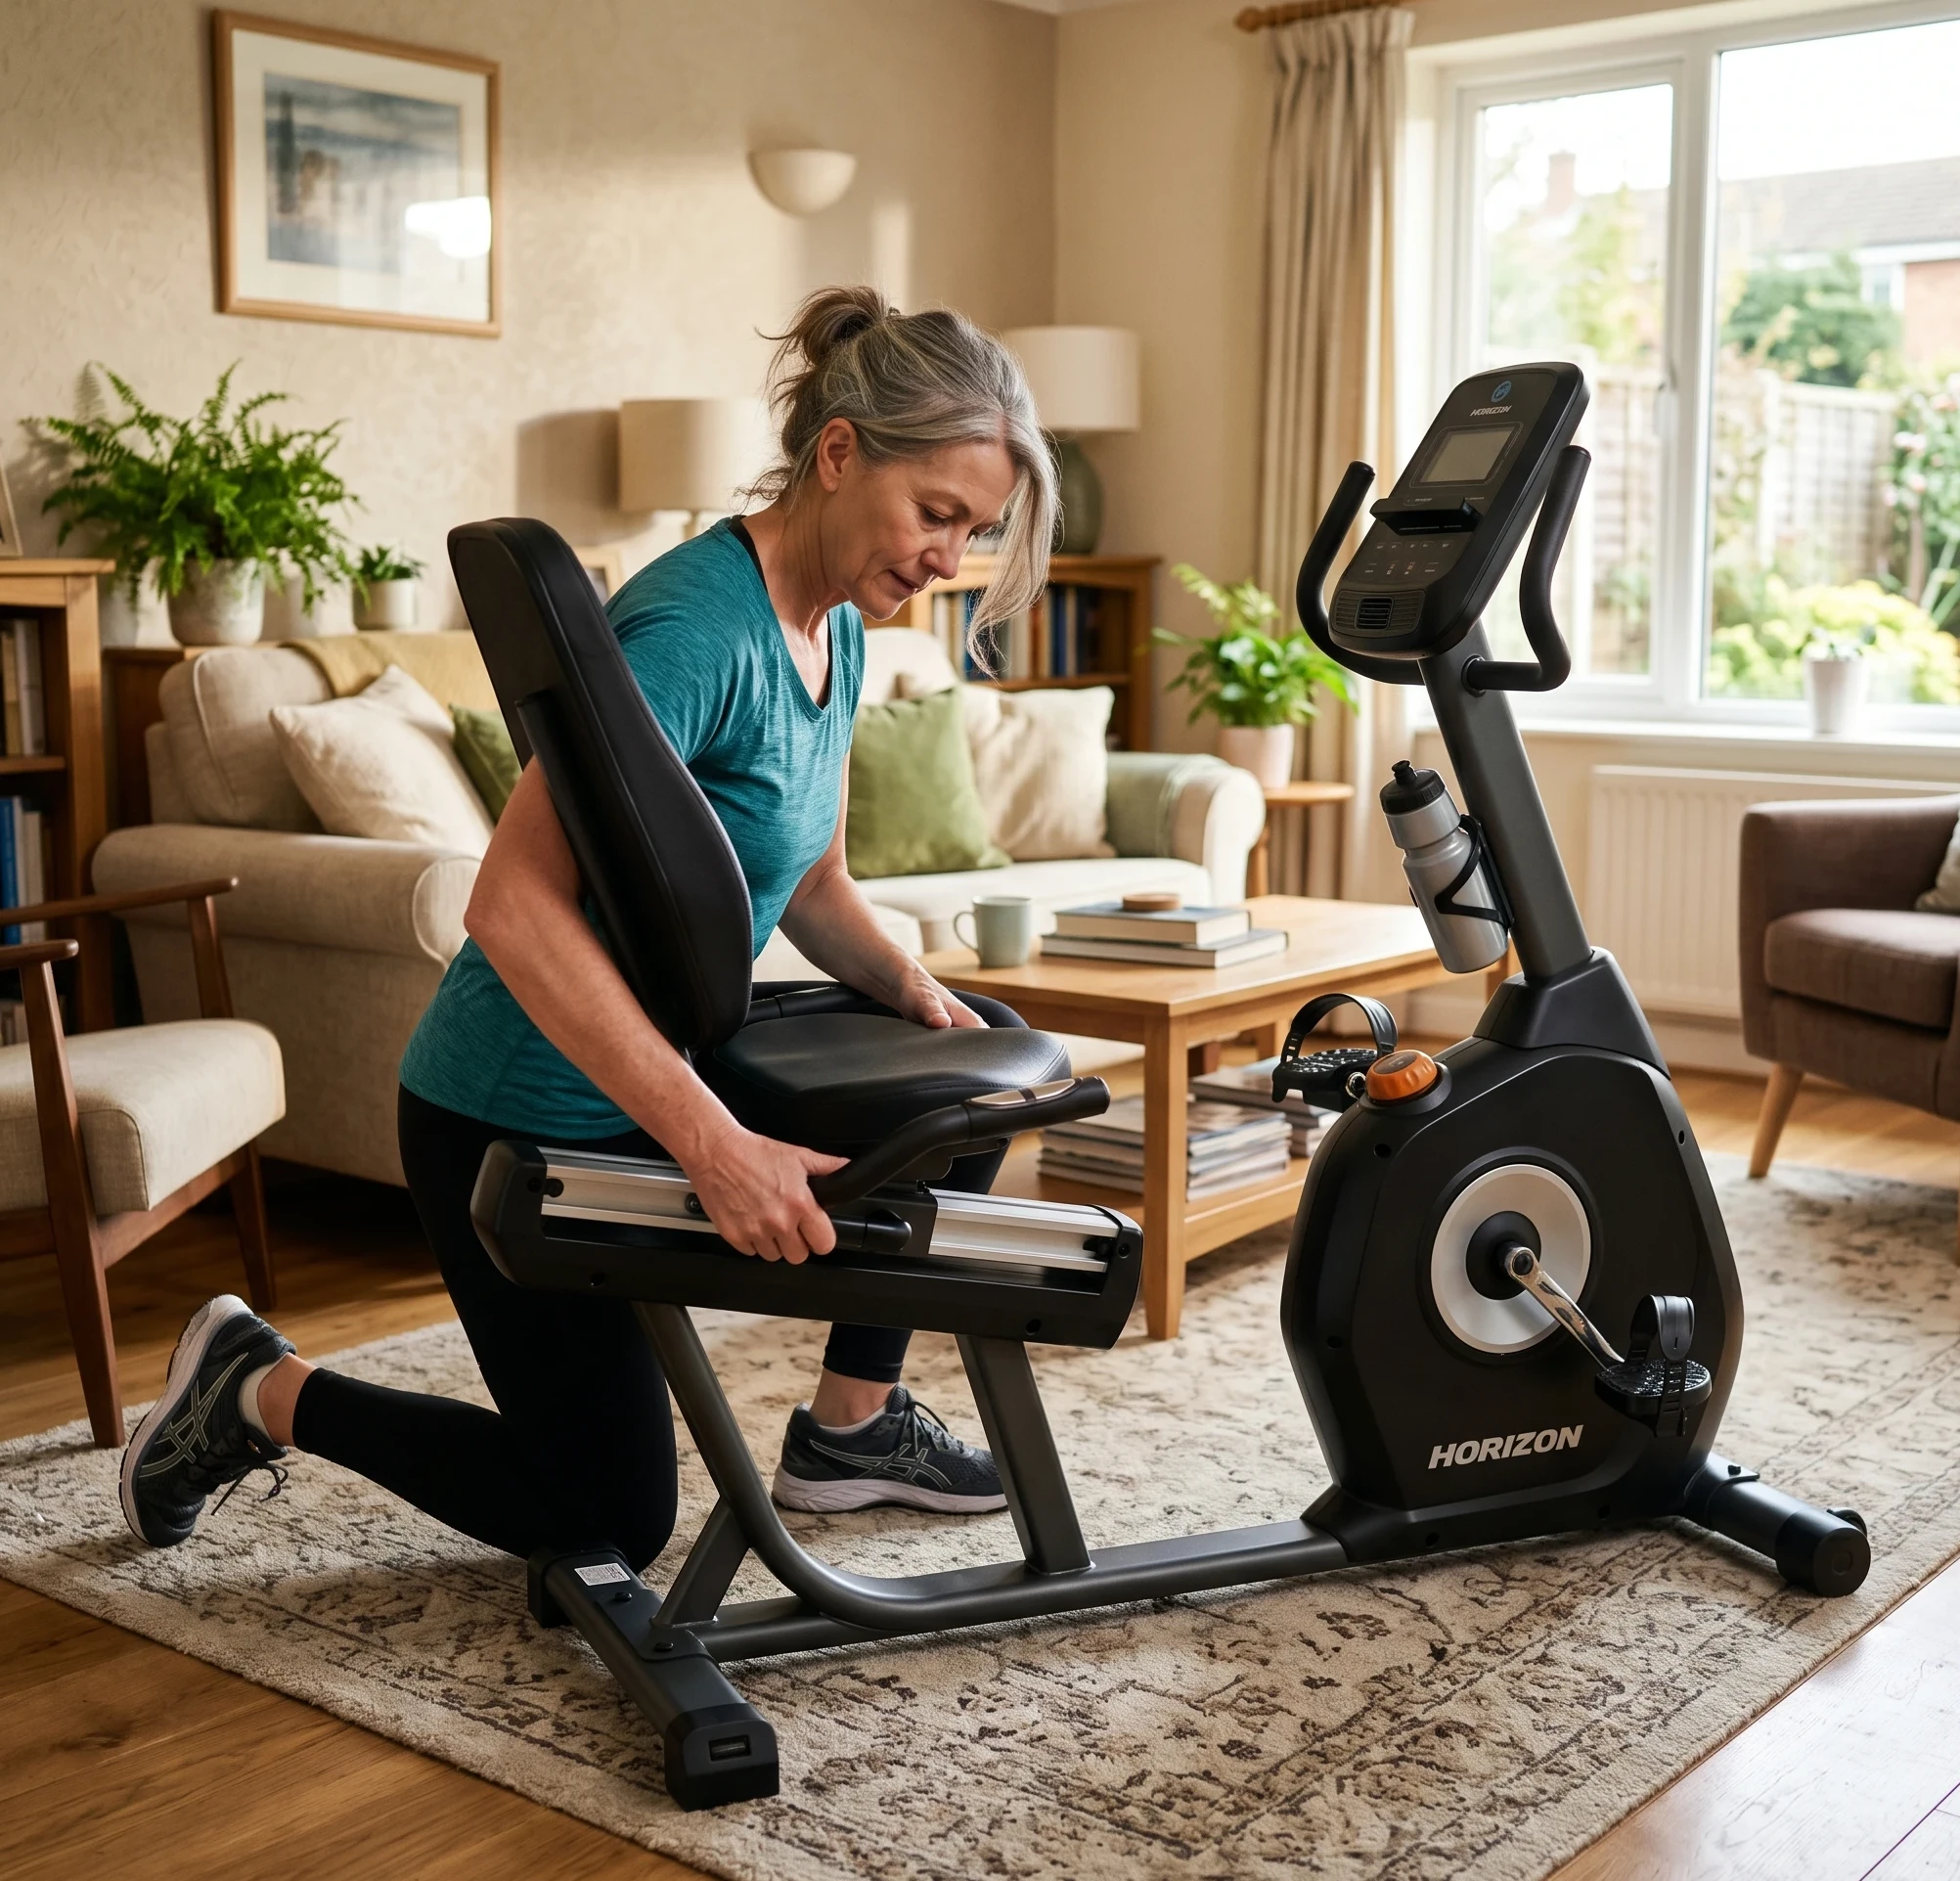
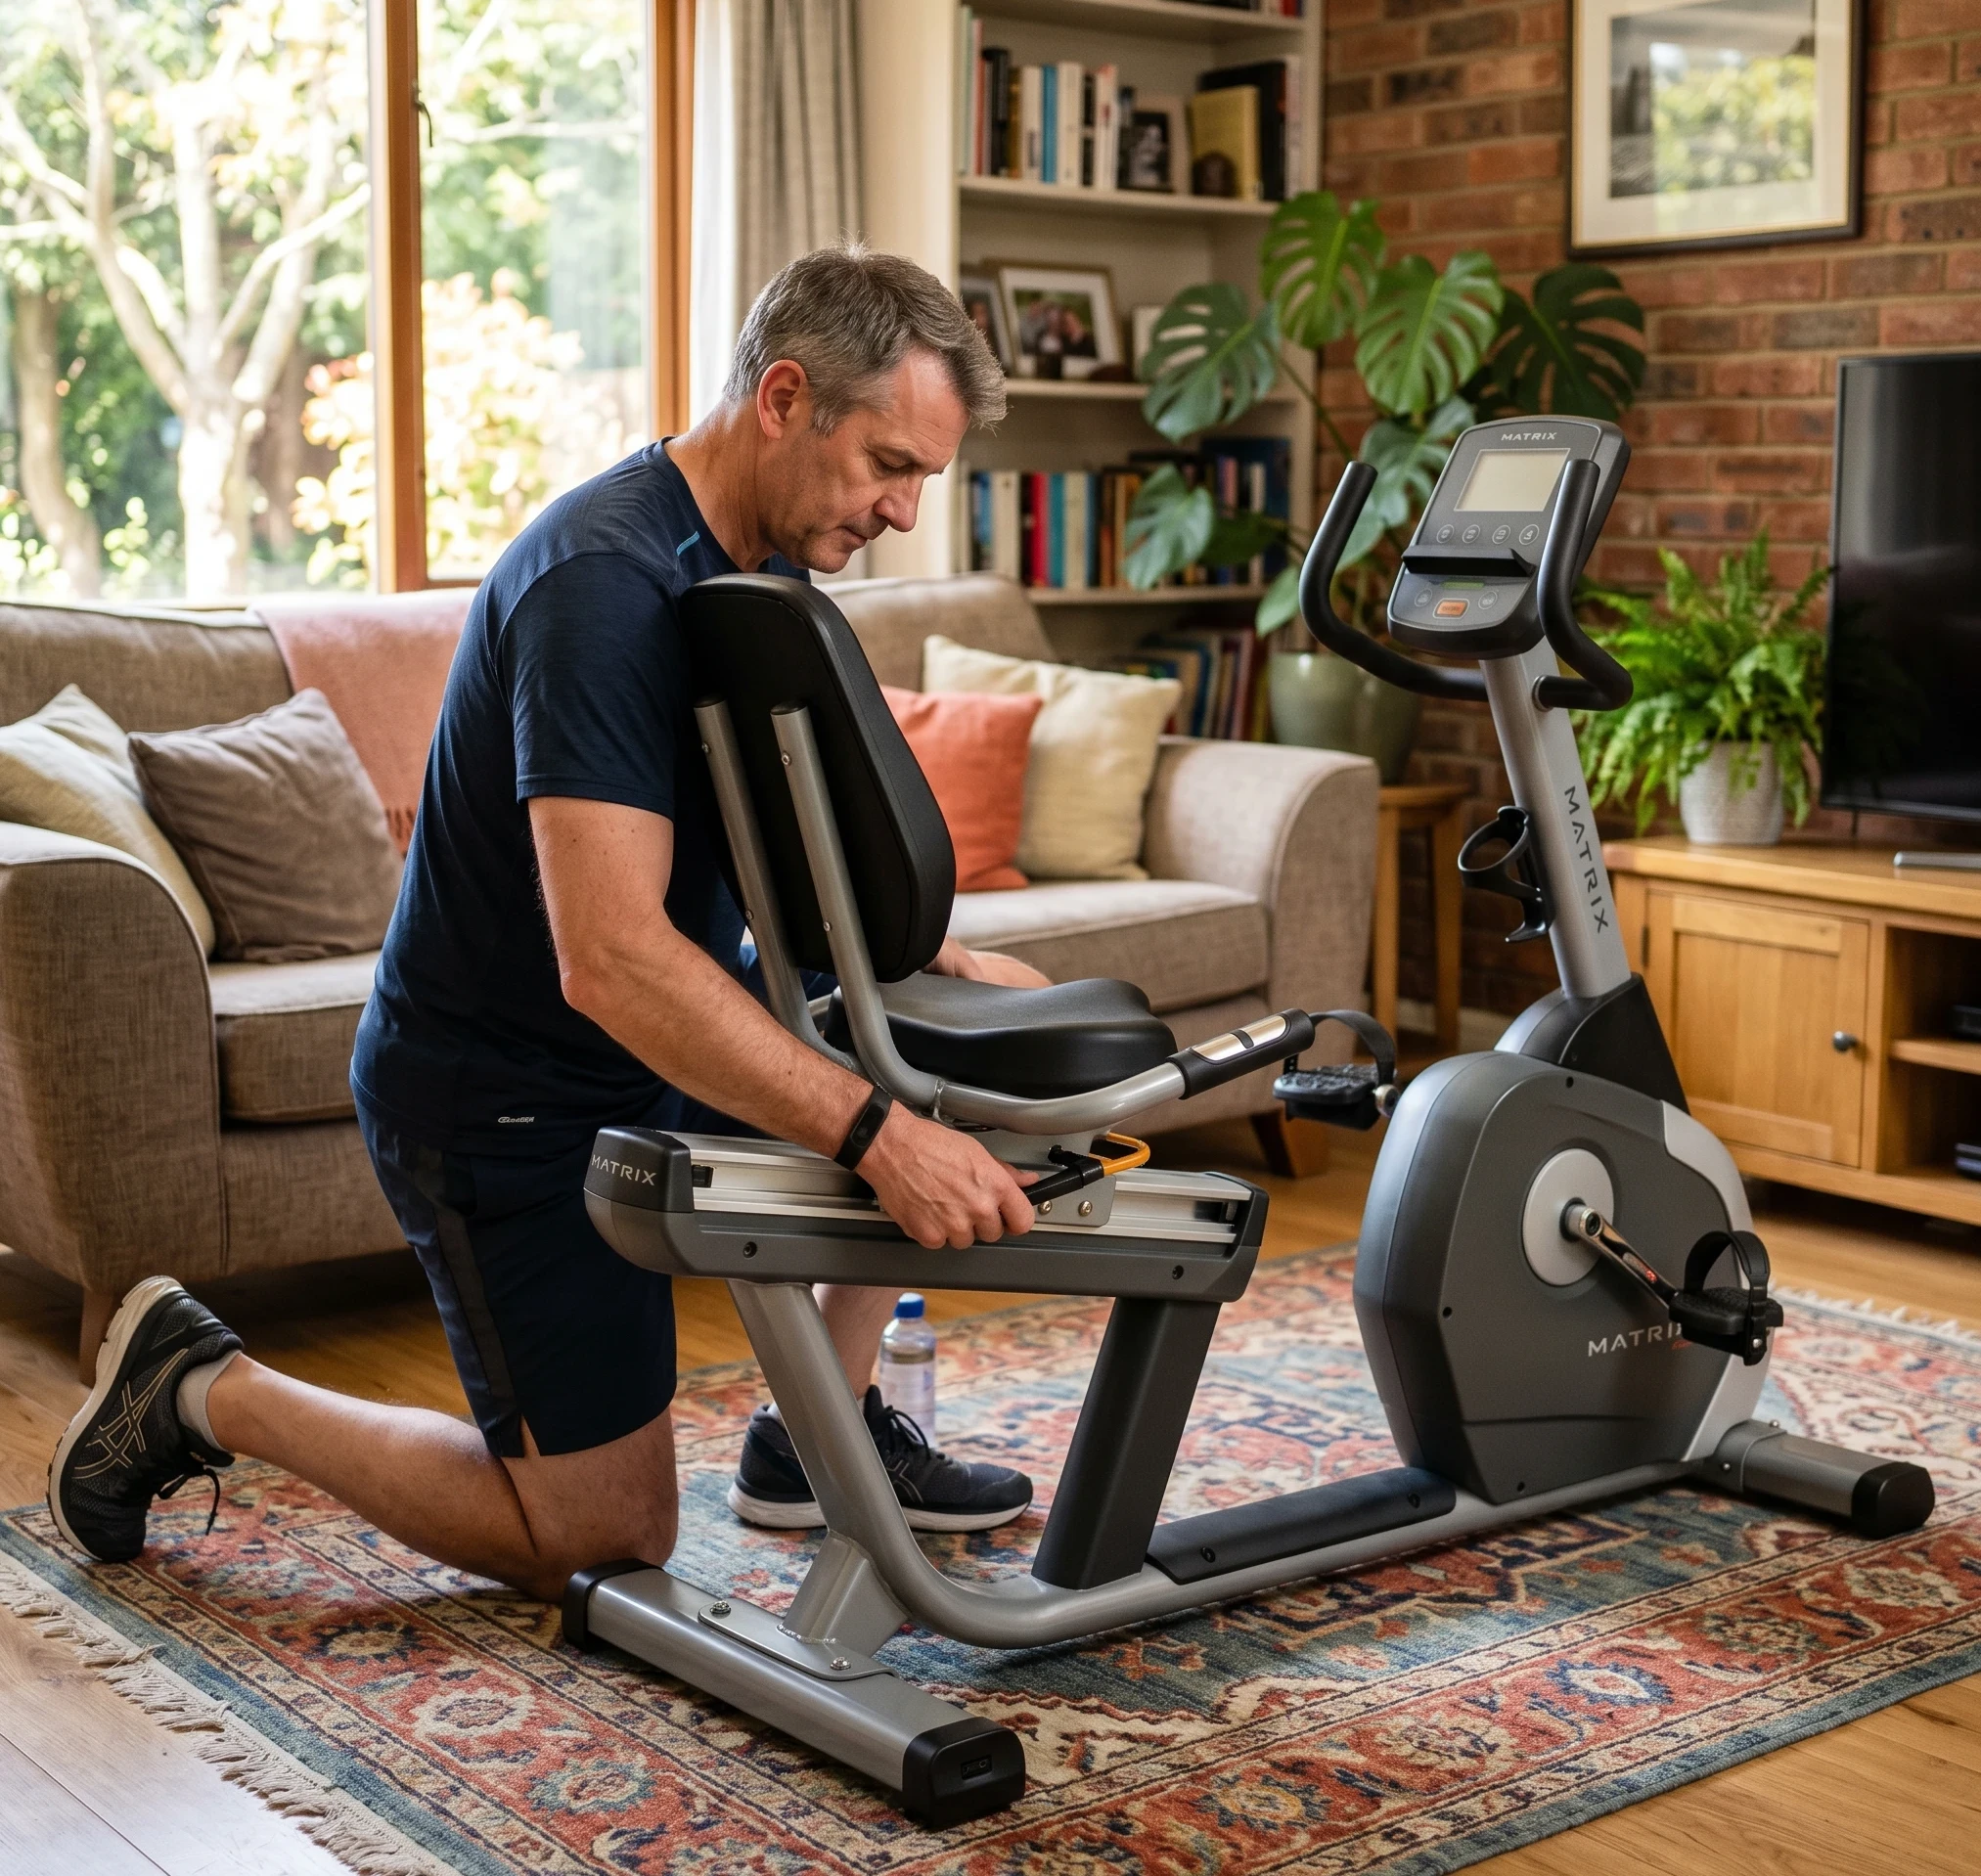
Seat positioning should be your top priority. You’re aiming for optimal leg extension, which means your knee should have a slight bend at the furthest pedal point. You’ll want to make sure you aren’t overextending or scrunching up; just like Goldilocks, we’re looking for what’s just right!
The backrest adjustment keeps your spine happy and healthy. You don’t want to slouch or over-straighten. Ideally, the backrest should support your natural spinal curve so those back muscles don’t end up exhausted after a ride.
Handlebars might not seem like a big deal, but positioning them correctly will save you a lot of trouble. Aim for a setup where your arms can relax with a comfortable grip, helping you steer easily without any strain.
The pedals and crank adjustment come next. Ensuring they’re in proper alignment helps in avoiding knee strain and makes pedaling way more efficient. A misaligned pedal can throw off your whole game, so don’t skip this step.
Once you’ve made all your adjustments, hop on for a quick test ride. A few minutes is enough to tell if tweaks are needed. If something feels off, don’t hesitate to re-adjust until it feels just right.
Watch out for common adjustment mistakes, like screwing components too tight, which can damage the parts, or misaligning sections which can lead to discomfort or even injury. Taking your time with these adjustments pays off in how smooth your ride feels.
Regular maintenance of your adjustments ensures your bike stays in tip-top shape. Give your setup a once-over every few weeks to make sure everything’s as snug as it should be and you’re always ready for your next cycling adventure.
So now you know all you need to about how to adjust a recumbent bike.